Geofence Management
Page Overview
Section titled “Page Overview”The Geofence Management page is used to define virtual geographic boundaries on a digital map for enterprise fleets (such as parking lots, logistics parks, restricted zones, or designated routes). On this page, operators can visually create and edit geofences, and use map layer controls to support daily dispatch. Combined with alarm settings, it enables automatic supervision of unauthorized vehicle entry and exit.
Entry Path
Section titled “Entry Path”Monitoring > Geofence
Page Features
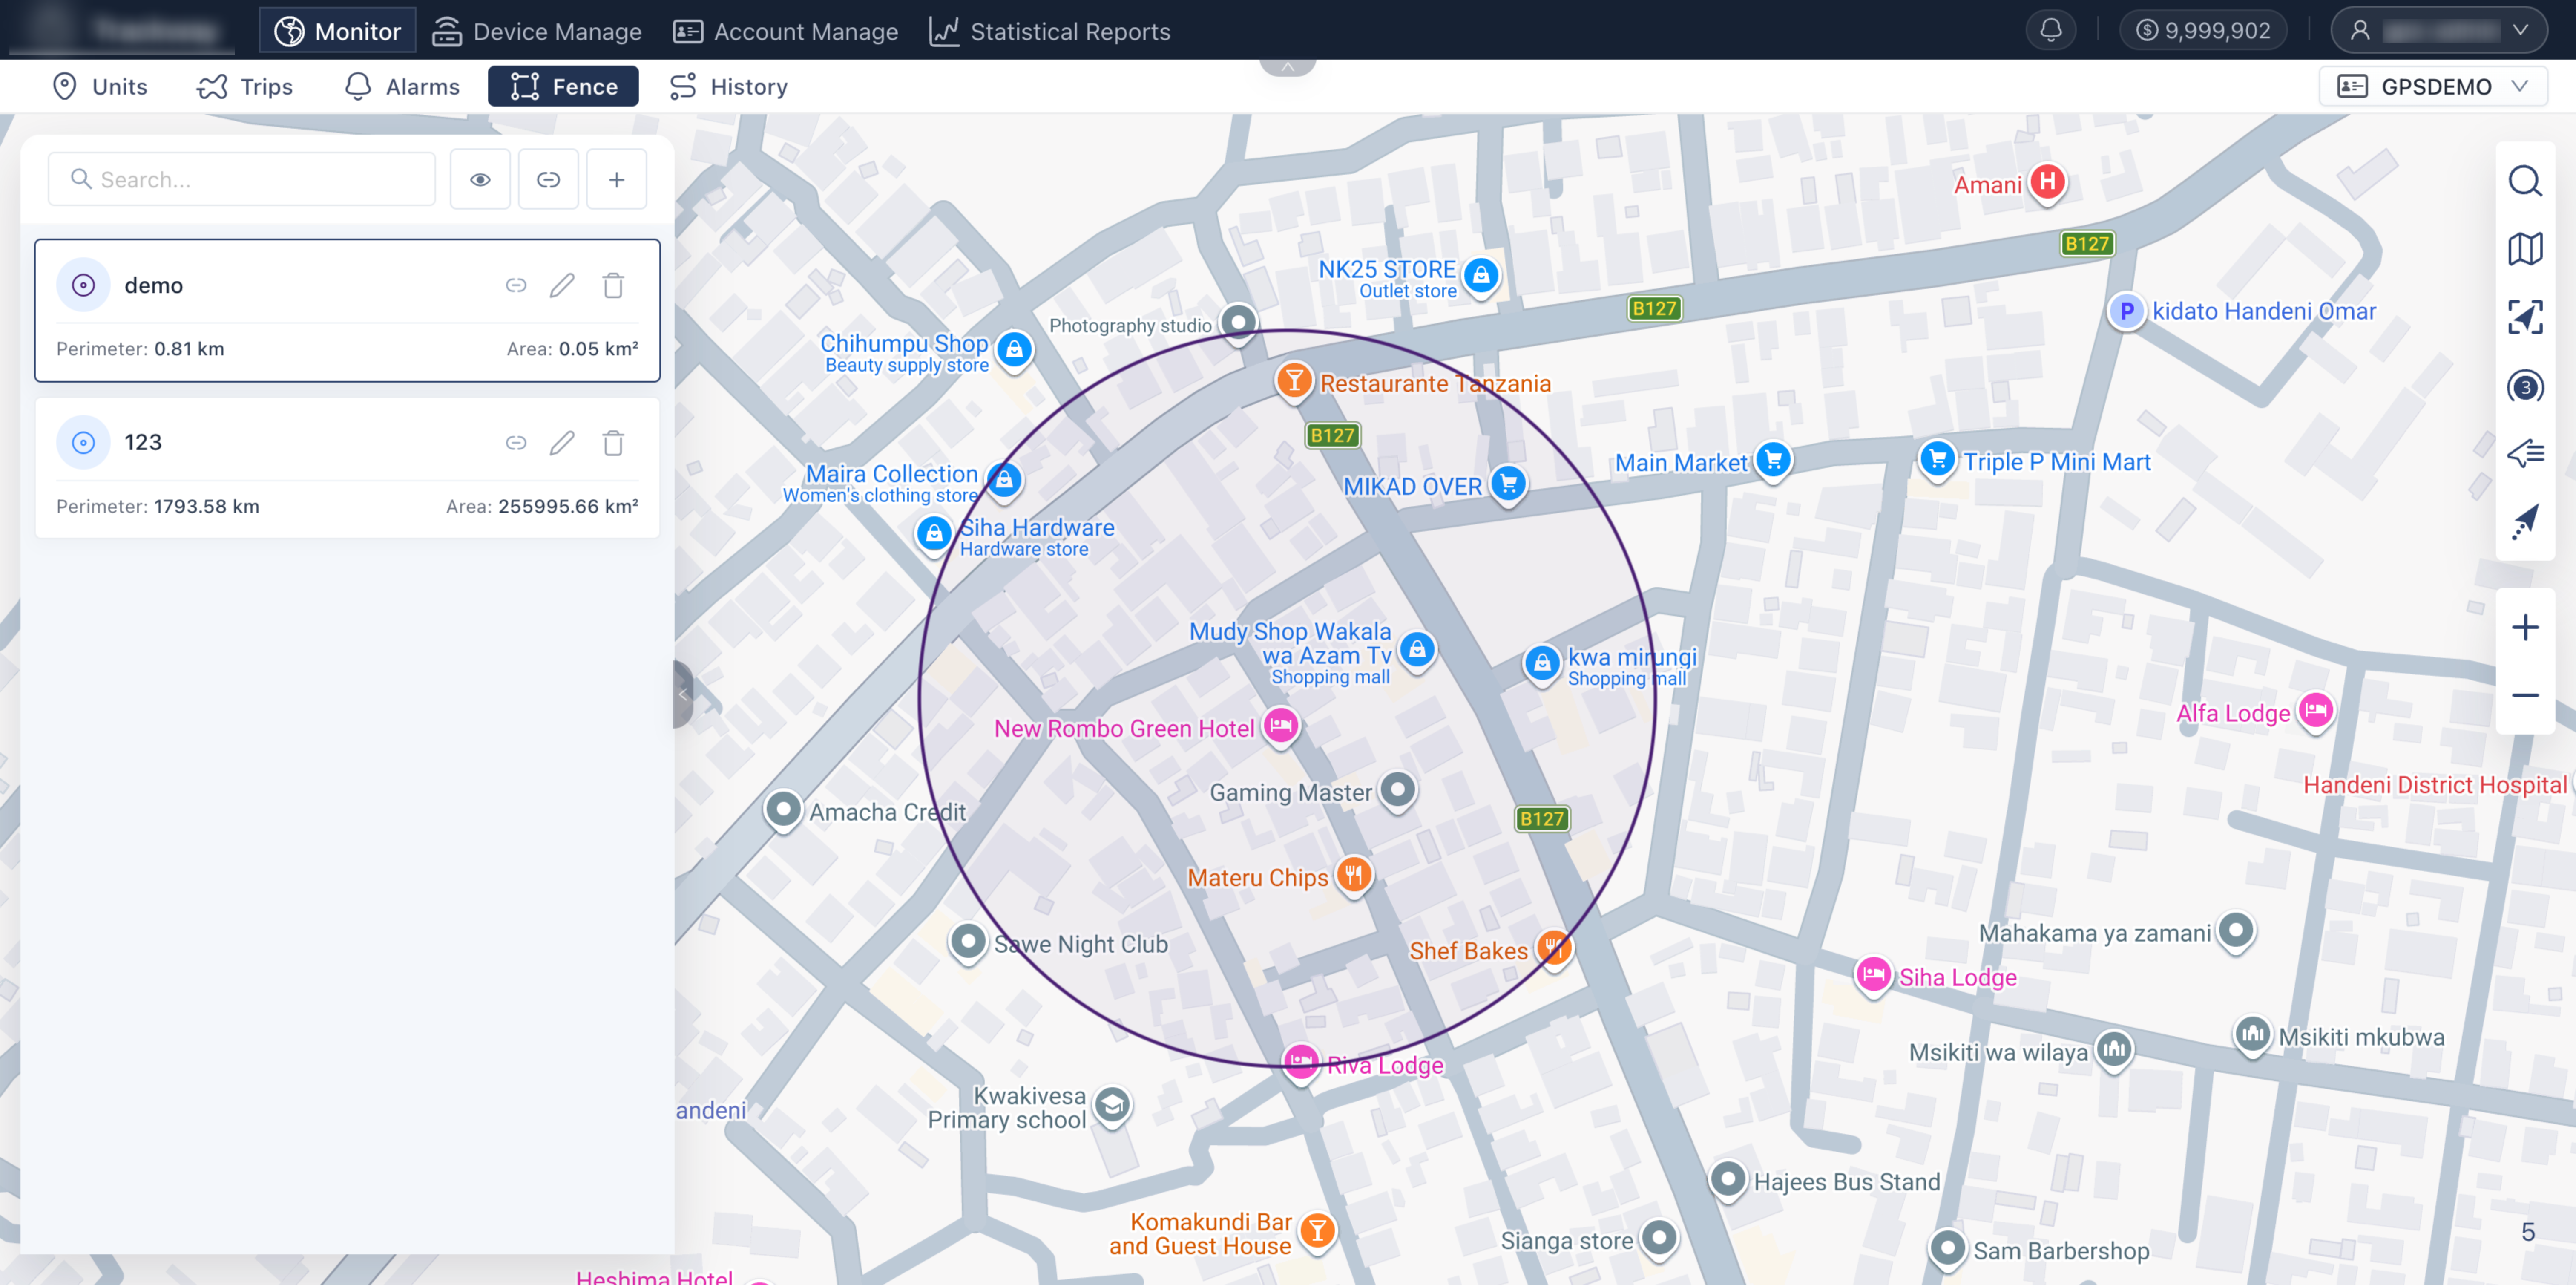
Section titled “Page Features”Geofence List and Visibility Control
Section titled “Geofence List and Visibility Control”Shows all geofences created under the current account and subordinate organizations, and controls whether they are visible on the monitoring map. Feature details and steps:
- List loading: After entering the panel, the system automatically loads and lists all available historical geofence records.
- Show/Hide switch: Each geofence card provides a Show checkbox. When enabled, the geofence geometry appears as an overlay layer on the map at right, making it easy to compare device positions with geofence boundaries during monitoring.
Create Geofence (Map-Linked Drawing)
Section titled “Create Geofence (Map-Linked Drawing)”Supports direct visual drawing on the right-side map to quickly build spatial boundaries. Steps:
- Click Create Geofence in the panel.
- Select an appropriate geofence type for your scenario:
- Circular geofence: Suitable for stations, outlets, or warehouses. Click to set center and drag to define radius.
- Polygon geofence: Suitable for irregular factories, administrative zones, or restricted areas. Click point-by-point to draw boundaries, then double-click to close.
- Path geofence (route): Suitable for fixed transport corridors or patrol routes. Draw a linear path along roads and set route deviation buffer width.
- Set a geofence name, fine-tune geometry on the map, then save.
Edit and Delete Geofences
Section titled “Edit and Delete Geofences”Maintain existing geofence properties and geographic range. Steps:
- Edit: Click Edit in the geofence list. The right-side map enters edit mode, allowing you to drag polygon vertices or circle edges to adjust boundaries.
- Delete: Click Delete to remove unused geofences. (Note: deleting a geofence invalidates associated geofence alarm rules.)
Geofence Alarm Association (Core Closed Loop)
Section titled “Geofence Alarm Association (Core Closed Loop)”Feature details: Creating a geofence alone is only a visual marker on the map. Device entry/exit events do not trigger alarms by default. You must associate the geofence with specific management targets before entry/exit alarm rules take effect. Configuration methods:
- Single-device setup: In Device List, find the target device and click More > Platform Alarm Configuration, then bind the selected geofence for precise control.
- Batch setup: In global Alarm Configuration/Rule Management, bind geofence rules directly to a device group or subordinate account for automated supervision at scale.
Q: I already drew a geofence for a logistics park. Why is there no alarm when vehicles enter it? A: Creating a geofence alone does not trigger alarms automatically. You must go to alarm settings for the relevant device or group, create an Entry/Exit Geofence Alarm Rule, and bind the geofence you just created. Only then will the system monitor and generate alarm records.
Q: If I want to modify a previously drawn polygon geofence, do I have to delete and redraw it? A: No. Find the geofence in the list and click Edit. Draggable control points will appear on the polygon edges on the right map. Move those points to reshape, then save.